Roofing Nails 101: Types, Sizes & When to Use Them
If you’re planning a roofing project or just wondering how your roof stays secure through high winds, heavy rain, and harsh Texas summers, start with one of the most overlooked components: roofing nails.
These small fasteners are more than just hardware; they’re essential to your roof’s strength, durability, and appearance. The right nails help prevent shingles from lifting, reduce wind damage, and extend the lifespan of your roof. The wrong nails, however, can lead to loose shingles, leaks, and even failed inspections.
In this article, you’ll learn how different types of roofing nails are used, why materials like galvanized steel, copper, and aluminum matter, and how to choose the correct nail length, head style, and shank type for your roofing system. We’ll also cover proper nailing patterns and spacing so your roof can stand up to real-world weather conditions, especially in high-wind areas across Texas.
Key Takeaways
- Which roofing nail types (ring-shank vs. smooth-shank) offer better protection, especially in high-wind areas
- What nail materials (galvanized, stainless steel, copper) perform best in different climates, including humid or coastal Texas regions
- How to choose the right nail size to meet code and ensure secure shingle fastening
- Proper nail placement techniques to help you avoid common roofing mistakes
- Why Texas homeowners may need to follow stricter building codes when it comes to nail count and fastener type
- Understanding these details can help you evaluate your contractor’s work or tackle DIY roofing projects with confidence

Why Roofing Nails Matter for Every Roof
Roofing nails may be small, but they play a big role in how well your roof performs over time. Choosing the right nails and installing them properly can be the difference between a durable, weather-resistant roof and one that fails prematurely.
1. They Keep Roofing Materials Secure
Whether you’re installing asphalt shingles, slate tiles, or wood shakes, roofing nails ensure everything stays firmly fastened, even during strong winds or sudden temperature shifts. In places like Texas, where windstorms and hail are common, secure fastening is non-negotiable.
2. They Help Prevent Water Intrusion
Incorrect nail placement or low-quality fasteners can create small gaps where moisture seeps in, especially around vulnerable areas like valleys, flashing, and vents. Over time, this can lead to rot, mold, and costly leaks.
3. They Directly Impact Roof Lifespan
Nail material, head size, and placement pattern all influence how long your roof will last. A roof built with the right nails, correctly spaced and embedded, will hold up better against UV exposure, heavy rain, and temperature extremes.
Types of Roofing Nails (And When You Should Use Each)
Choosing the right roofing nail isn’t just a contractor’s concern; it can make a significant difference in how well your roof performs over time. Nail type affects how securely your shingles stay in place, how your roof handles severe weather, and whether it passes inspection, especially in regions like Texas with high wind zones and strict building codes.
Below is a comparison of the four most common roofing nail types, including when and why to use them, plus key benefits and important watch-outs:
| Nail Type | Best For | Design | Benefits | Considerations |
|---|---|---|---|---|
| Smooth Shank | Basic asphalt shingles, quick or temporary repairs | Straight shaft | Inexpensive. Easy to drive manually or with a gun | Minimal holding power. Not ideal for high-wind zones or steep-slope installations |
| Ring Shank | Asphalt shingles, steep slopes, high-wind or hurricane zones | Ribbed shaft for enhanced grip | Excellent pull resistance. Reduces nail pops and shingle blow-off | Often required in Texas coastal areas for code compliance and storm resistance |
| Screw Shank | Dense wood decking, wood shakes, heavy-duty systems | Twisted shaft like a screw | Maximum grip. Performs well in freeze-thaw climates | Typically used on custom or premium roofs. Not common for asphalt installations |
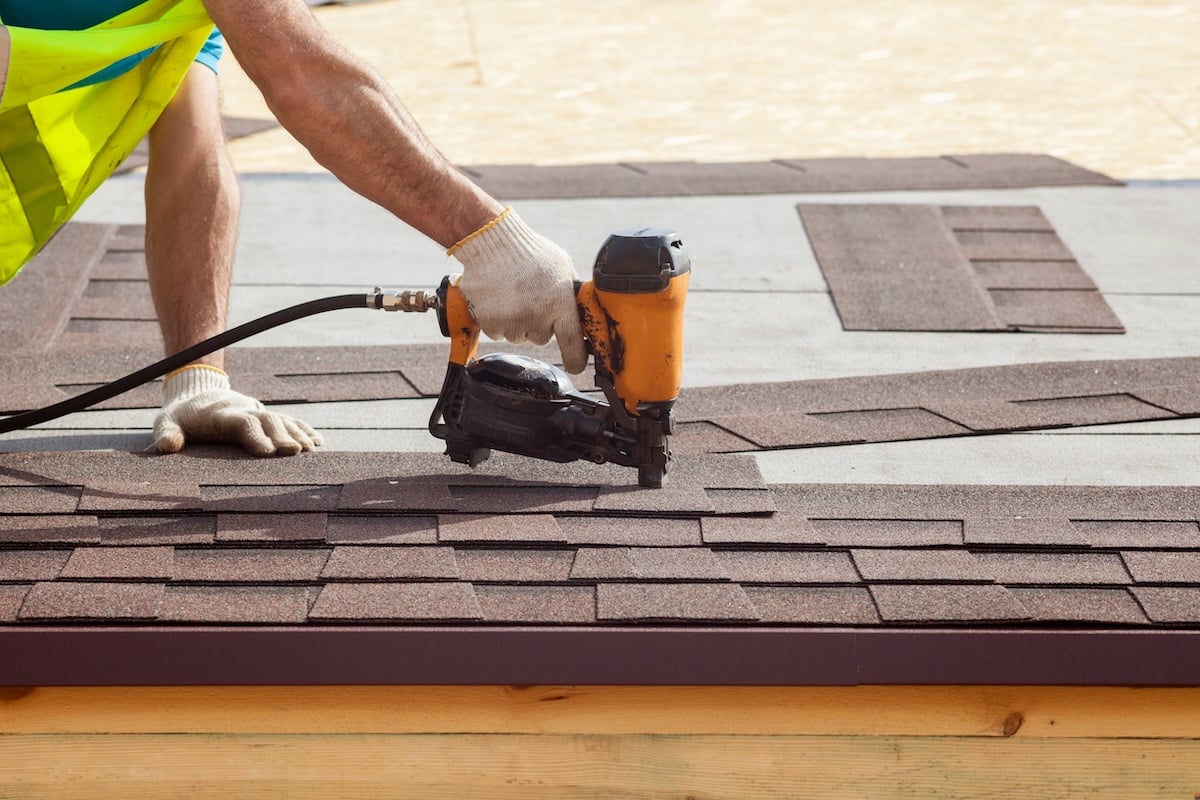
| Coil Roofing Nails | Large-scale or professional jobs | Collated in a coil for nail guns | Faster installation. Even spacing & consistent depth | Requires a pneumatic nailer. Best for contractors and re-roofing at scale |
Roofing Nail Materials: Strength Meets Weather Resistance
When it comes to roofing, the material your nails are made from matters just as much as their size or type. Nail material determines how well your roof resists rust, moisture, salt air, and temperature swings, and can even impact its appearance over time.
Whether you’re roofing in dry inland areas or along Texas’s humid Gulf Coast, here’s how to choose the right nail material for the job:
| Material | Best For | Weather Resistance | Ideal Uses | Considerations |
|---|---|---|---|---|
| Galvanized Steel | Most residential roofs with asphalt shingles | Zinc coating resists rust and general corrosion | Asphalt shingles, underlayment, and wood decking | Standard for most homes; opt for hot-dip in humid climates |
| Stainless Steel | Coastal regions, humid zones, premium roofing systems | Superior resistance to salt air and moisture | Metal roofing, synthetic slate, cedar shakes | More expensive; ideal for long-term durability in Texas coastal cities |
| Aluminum | Dry climates or decorative/trim work | Doesn’t rust; lightweight and non-staining | Asphalt shingles, trim work, and lightweight roofing systems | Not strong enough for high-wind areas; avoid in coastal Texas |
| Copper | Historic homes, slate or wood shake roofs | Naturally resists corrosion and oxidation | Slate, cedar shakes, and use with copper flashing | Only use with copper flashing to avoid galvanic corrosion |

Nail Design Features That Matter More Than You Think
Even with the right material, your roofing nails can fail if their design features aren’t up to standard. Nail head shape, point style, and diameter might seem like small details, but they directly affect how your shingles hold up against wind, rain, and long-term wear.
If you’re reroofing a home in Texas, where storm winds and heat can stress every fastener on your roof, these details become even more critical.
Flat Head: Hold Shingles in Place Without Tearing
Purpose:
A flat, wide head ensures that the nail presses the shingle tightly and evenly against the roof deck.
Why It’s Important:
- Provides better surface coverage to prevent nail pull-through in high winds
- Keeps shingles flat and secure, helping the adhesive strips bond properly
- Prevents tearing in softer shingles during expansion or contraction (common in Texas heat)
Diamond Point: Penetrates Cleanly Without Splitting Wood
Purpose:
The diamond-shaped tip is engineered to pierce roofing materials cleanly with minimal resistance.
Why It’s Important:
- Reduces the risk of splitting plywood or OSB decking, especially when installing by hand
- Makes driving nails smoother and more accurate, important for nail gun users
- Helps avoid microcracks in the roof deck that could lead to fastener failure later
Head Diameter: Prevents Long-Term Damage to Shingles
Recommended Size:
At least 3/8 inch wide, the industry standard for asphalt shingles.
Why It’s Important:
- Spreads pressure evenly to avoid denting or cutting into the shingle
- Prevents the nail from “punching through” or sinking too deep, which can cause leaks or shingle movement
- Meets most manufacturer specs for wind warranties and code compliance
Choosing the Correct Nail Length
Roofing nails may seem like a minor detail, but using the wrong length can lead to serious issues, from shingle blow-off and leaks to failed inspections or voided warranties. Whether you’re roofing a new home or layering over an old one, it’s essential to match your nail length to your roofing materials, deck thickness, and local building codes.
Let’s break down how to get it right.
Standard Nail Length Guidelines
- Most roofing nails range from 1 inch to 2 inches in length.
- According to roofing best practices (and manufacturer specs), nails must:
- Penetrate at least ¾ inch into solid wood decking
- OR pass completely through thinner sheathing (like plywood or OSB)
This ensures enough bite to resist wind uplift and maintain proper shingle alignment.
Adjusting Nail Length Based on Installation Conditions
Choosing the right nail length isn’t just about following a general rule; it depends on the specific details of your roofing system. The thickness of your roofing materials, whether you’re installing over an existing roof, and even your local building code, all influence how long your nails should be. Using nails that are too short can result in loose shingles, water intrusion, failed inspections, or voided warranties, especially in high-wind areas like Texas.
Here’s how to select the correct nail length for different installation scenarios:
1. New Roofs Over Sheathing (Standard Install)
- The recommended length is 1¼ inch nails for standard asphalt shingles
- Best when fastening directly to ½” or ⅝” roof decking
- Works for most single-layer applications on Texas homes
2. Roof-Over (Layering Over Old Shingles or Thick Underlayment)
- Add ¼–½ inch of extra length to account for added material thickness
- Example: If installing over existing shingles, consider 1¾–2″ nails
- Important for passing inspection and securing both layers properly
3. Slate, Cedar, or Wood Shake Roofs
- Use longer nails (often 2+ inches) due to thicker roofing materials
- Especially important if installing over battens, skip sheathing, or furring strips
- Nails must hold through both the thick roofing and reach deep into the structure
Why Nail Length Matters
Using nails that are too short can result in:
- Loose or lifted shingles that flap in the wind
- Improper sealing, leading to leaks
- Voided warranties, as most manufacturers specify exact nail lengths
- Failed inspections, especially in wind-rated regions of Texas
7 Common Mistakes With Roofing Nails
Even the best roofing materials can underperform if the nails aren’t installed correctly. From subtle leaks to major storm damage, simple nail errors can lead to expensive repairs, failed inspections, or even voided warranties.
Whether you’re hiring a roofing contractor or doing the job yourself, knowing what to avoid, and how to fix it can help ensure your roof is built to last. Here’s a breakdown of the most common roofing nail issues and how to prevent them:
| Issue | Why It’s a Problem | Fix |
|---|---|---|
| Wrong nail material (e.g., galvanized near the coast) | Galvanized nails can rust in salty air or high humidity, weakening fasteners and causing leaks. | Use stainless steel or copper nails in coastal or high-moisture environments. |
| Nails are too short | Nails that don’t penetrate the deck won’t hold under wind pressure and may pop up. | Use nails that penetrate at least ¾” into the roof deck or go fully through thinner sheathing. |
| Mixing metal types (e.g., copper nails with steel flashing) | Different metals cause galvanic corrosion, leading to premature failure of fasteners or materials. | Always match nail and flashing materials (e.g., copper with copper, steel with steel). |
| Overdriving nails | Nails that sink too deeply can break the seal, weaken the hold, and reduce wind resistance. | Calibrate nail guns and drive nails flush—not below—the shingle surface. |
| Underdriving nails | Nails that sit too high allow water intrusion and reduce shingle security. | Make sure the nail head is seated flat on the shingle without piercing through. |
| Nails placed outside the proper zone | Incorrect placement can lead to leaks or missed structural anchoring. | Follow the manufacturer’s printed nailing zone on each shingle. |
| Too few nails per shingle | Reduces wind resistance and may void your manufacturer’s warranty. | Use at least 4 nails per shingle, or 6 in high-wind zones like coastal Texas. |

How to Choose the Best Roofing Nails for Your Project
The right roofing nail isn’t one-size-fits-all; it depends on several key factors, including the type of roofing material you’re using, your local climate conditions (such as humidity, wind, or salt exposure), and building code requirements in your area. Choosing the correct combination ensures a secure installation, protects against long-term damage, and keeps your warranty intact. Here’s how to make the best choice for your specific project:
| Roofing Material | Best Nail Type | Recommended Nail Length | Why It Works | Installation Tip |
|---|---|---|---|---|
| Asphalt Shingles | Galvanized ring-shank nails | 1¼ inches for standard installations | Galvanized coating resists rust; ring-shank grip prevents wind uplift | Nail flush with the surface to avoid cracking the shingle mat |
| Wood Shakes | Stainless steel or copper nails | 1¾ inches or longer | Corrosion-resistant nails prevent staining and splitting | Use diamond-point nails to reduce wood splitting; pre-drill if needed |
| Slate Roofing | Copper nails | 2 inches or longer | Copper won’t corrode or react with slate; ideal for historic or high-end roofs | Hand-nail to control depth, pneumatic tools may crack slate |
| Metal Roof Panels | Screws preferred; galvanized or stainless nails for trim | Varies by panel and trim application | Screws with washers allow for thermal movement and better sealing | Seal all exposed fasteners with roofing-grade sealant to prevent leaks |
Strong Roofs Start With the Right Nails
Don’t let something as small as a nail ruin your roofing investment. Understanding the differences between roofing nails, choosing the correct nail length, and selecting the right materials like ring shank nails, copper nails, or steel can make all the difference in durability and performance.
At M & M Roofing, we sweat the small stuff because every detail matters when it comes to protecting your home. Whether you’re replacing shingles, installing new slate, or repairing exterior woodwork, our expert team knows exactly which nails to use and how to use them right.
Need help with a repair or roof upgrade? Contact M & M Roofing today for a free evaluation and expert guidance tailored to your home and project needs.
FAQs
What nails should be used for roofing?
For most asphalt shingle roofs, galvanized ring-shank nails are recommended due to their strong grip and rust resistance. In humid or coastal areas, stainless steel or copper nails are better for long-term durability.
How long should my roofing nails be?
Roofing nails should be long enough to penetrate at least ¾ inch into the roof deck, or pass entirely through if the decking is thinner. For standard asphalt shingles, 1¼-inch nails are typically sufficient.
What is the code for roofing nails?
Building codes vary by region, but most require nails to be corrosion-resistant, penetrate the decking properly, and follow manufacturer guidelines for placement and spacing. In high-wind zones, many local codes require a six-nail pattern with ring-shank nails for added strength.
Do roofing nails cause leaks?
Roofing nails don’t cause leaks when installed correctly, but improper nail placement, underdriving, overdriving, or exposed fasteners can allow water to enter. Always follow proper nailing techniques and seal exposed nails when needed.
